
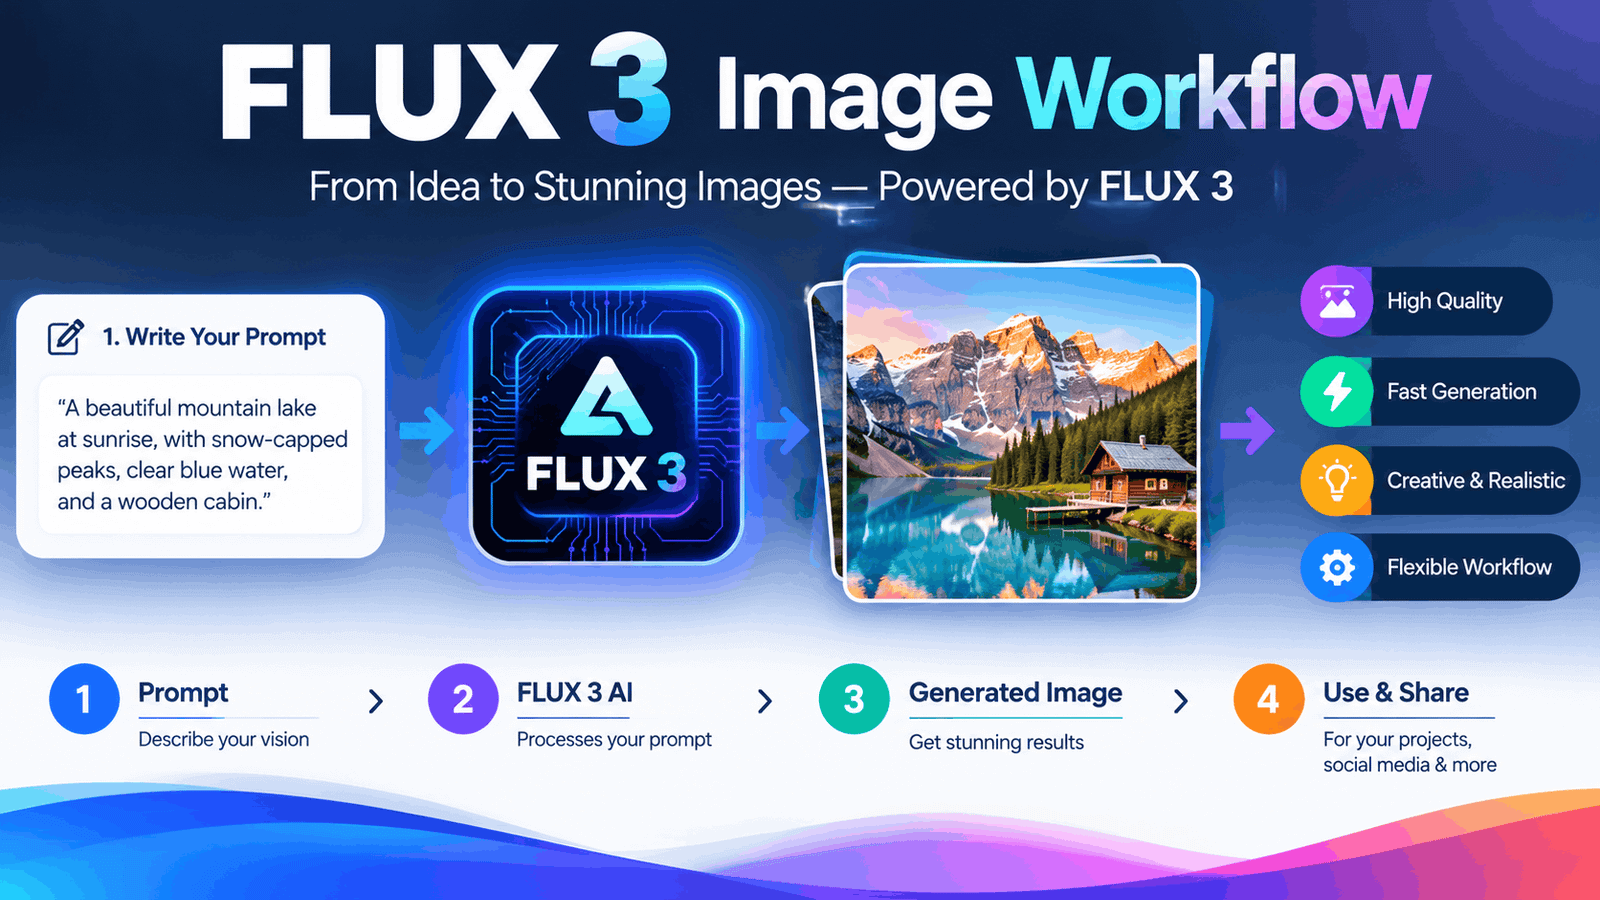
FLUX 3 Image Workflow: From Moodboard to Final Frame
Most teams treat a new image model like a slot machine: type a prompt, pull the lever, hope for a good frame. That works for a demo. It falls apart when you need thirty consistent assets for a campaign, a client who changes the headline on Thursday, or a brand look that survives from the hero banner to the Instagram crop.
FLUX 3 Image is interesting because its feature set maps onto the stages of a real production pipeline instead of a single “generate” button. Black Forest Labs describes it as a model that lets you generate from a prompt, edit specific details, combine up to ten references, and draw bounding boxes to place each element. Each of those is a different job in the creative process, so they work best as separate stages.
This guide is built around that idea: plan the frame, build it, then revise it surgically.
Also Read : AI Avatar Videos for Businesses in 2027
What FLUX 3 Image actually is (and isn’t)
Black Forest Labs released it on October 1, 2026. It is the still-image member of the wider FLUX 3 family, which also covers video. It is built on the multimodal FLUX 3 backbone shared with FLUX 3 Video, and combines text-to-image, local editing, multi-reference composition, bounding-box placement, and native 4K output.
Two practical notes before you commit a pipeline to it:
- It is a proprietary API model. Access runs through the Black Forest Labs API and playground, commercial weights are offered on request, and publicly downloadable open weights are not documented. If your workflow depends on running everything locally, plan around that.
- Pricing depends on resolution and provider. One marketplace lists it from $0.0205 per image at 768 up to $0.3035 per image at 4K. Treat those as a range, not a fixed rate, and check your own provider.
The seven-stage workflow
Stage 1: Turn the moodboard into a visual spec
A moodboard is inspiration. A model needs instructions. The most common failure is pasting a pile of reference images and hoping the model infers what you liked about each.
Before touching FLUX, convert the board into a one-page visual spec:
| Attribute | Question to answer | Example entry |
|---|---|---|
| Light | Direction, quality, time of day | Low side-light, overcast, soft shadows |
| Palette | 3 to 5 named colors, plus colors to avoid | Clay, bone, deep green; no neon |
| Texture | Surfaces that recur | Linen, matte ceramic, raw timber |
| Camera | Lens feel, distance, angle | 50mm feel, eye level, shallow depth |
| Mood | Three adjectives | Quiet, tactile, unhurried |
| Hard no’s | What breaks the look | Stock-photo smiles, glossy plastic |
This spec becomes the reusable “style paragraph” in every prompt. It is the cheapest consistency tool you have.
Stage 2: Write prompts like a shot description
BFL’s guidance centers on a structured, multi-part prompt rather than a keyword pile. My adaptation: write one paragraph that moves from subject → setting → light and camera → style → any literal text, in plain sentences.
Two habits pay off:
- Be specific about what only you know. The model can fill in generic details, but it can’t invent your product’s exact color or your brand’s headline.
- Read what the model sends back. The final prompt FLUX 3 used, including any boxes it added, comes back in the response. Save these. They show how your short brief was expanded, and they’re a good source for improving your templates.
Stage 3: Lock the composition with bounding boxes
This is the feature that changes the economics of the workflow. Instead of rerolling until the logo lands in the right corner, you declare where things go.
What to know before you use it:
- Boxes are written at the end of the prompt, and no extra parameter is needed.
- Coordinates use a grid where [0, 0, 500, 500] covers the top-left quarter of the image.
- Boxes guide; they don’t clip. They set placement and scale rather than acting as a hard mask, so don’t expect pixel-perfect cutouts.
- Match the aspect ratio you designed the layout for, or your boxes will drift.
- Give each line of text its own box and quote the exact words in the description.
- Avoid tiny boxes. The docs warn that very small boxes can fail.
Practical use: sketch a layout in any design tool, export the coordinates, and treat them as the “wireframe” for the generation. This is the closest thing the model offers to art direction.
Stage 4: Bring in references with explicit roles
Up to ten reference images can go into a single request. You refer to them by position (“image 1,” “image 2”), for example: the person from image 1 wears the jacket from image 2 and stands in the kitchen from image 3.
The discipline here is one job per reference:
- Image 1: the scene or base composition
- Image 2: the product or object to place
- Image 3: the person or identity to preserve
- Image 4: the style or lighting to borrow
A third-party review makes a sound point: more references only help when they add relevant information. Ten loosely related images will muddy the output. Start with two or three and add only when something is missing.
Stage 5: Revise surgically, don’t regenerate
This is where time is saved. Rather than restarting, send the current frame back as a reference with a written instruction. If you need region-level control, reuse the element table from the original layout and change only the rows that matter.
According to the docs, pixels outside the edited boxes usually stay identical, which makes it practical to recolor, move, replace, or remove a single element. Two tips:
- To move or resize an element, give it different source and target boxes. To keep it in place, use matching boxes.
- State removals in the written instruction too, not only in the table.
Chain small edits rather than one giant instruction. Each pass is easier to review and easier to undo.
Stage 6: Draft small, finalize large
Native resolution is a headline feature. The model offers native 2K and 4K output. That means the larger image is generated directly rather than upscaled from a smaller one.
Cost-wise, a sensible pattern is:
- Explore at low resolution (cheap, fast) to settle composition and copy.
- Approve the layout and references.
- Render finals at 2K or 4K only for approved frames.
Given the price spread between low and 4K output, this discipline matters on any batch job.
Stage 7: QA before anything ships
Even a strong model needs a checklist:
- Proofread every word of in-image text. Typography is much improved, but one reviewer’s advice is blunt: text rendering still needs proofreading.
- Verify real-world subjects. By default, FLUX 3 searches the web to get real things right, which helps accuracy, but you still need to confirm logos, landmarks, and products.
- Check hands, edges, and small details at 100% zoom.
- Confirm licensing. One tracker lists commercial use as conditional. Read your provider’s terms before client delivery.
- Log everything: prompt, returned prompt, references, boxes, seed or settings, date.
Where this approach has limits
- Boxes steer but don’t guarantee exactness.
- Public benchmarks are thin. No exact quality score, vote cohort, or confidence interval had been published at the time one tracker reviewed it, so claims that it “beats” competitors deserve skepticism.
- A model this new has a short track record. Test it on your own content types before committing a client pipeline.
FAQ
Is FLUX 3 Image open source? Not at launch. It’s offered through BFL’s API, with commercial weights on request. An open-weights “Dev” variant has been mentioned for the broader FLUX 3 family, but it’s separate from this release.
How many reference images can I use? Up to ten.
Can it edit part of an image without changing the rest? Yes, using bounding boxes, though results can vary, so always compare against the source.
Does it replace a designer? No. It compresses the exploration and revision loop. Taste, brand judgment, and approval still belong to people.
Conclusion
The advantage of FLUX 3 Image isn’t a single better picture. It’s that planning, assembling, and revising a frame can now live in one system. Build the spec first, lock the layout, assign every reference a job, revise in small steps, and spend on resolution last. That sequence turns a flashy model into a repeatable content process.